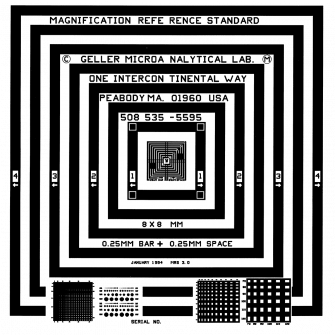
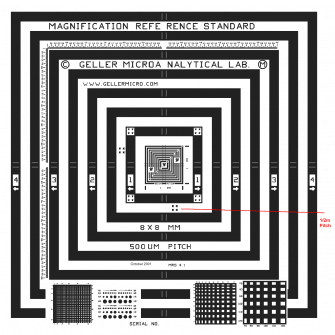
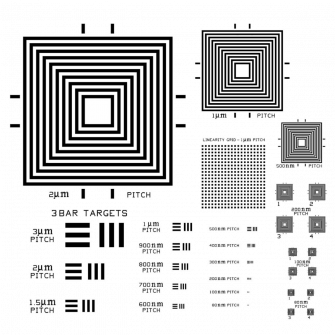
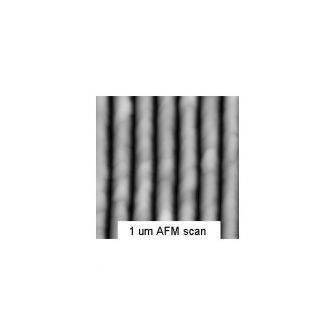
- Geller Reference Standard MRS-3The MRS-3 is a universal magnification calibration standard suitable for a wide range of instrumentation. Magnifications from 10X to 50,000X. 2µm minimum pitch. Traceable to national labs for ISO9000 and ISO17025.Average lead time: 29 days
POA
Average lead time: 29 days - Geller Reference Standard MRS-4A fifth Generation, high magnification reference standard for instrument calibration from 10X to 200,000X (1/2µm minimum pitch). NIST and NPL traceable for ISO9000 and ISO17025.Average lead time: 29 days
POA
Average lead time: 29 days - Geller Reference Standard MRS-6A fifth generation Magnification Reference Standard & Stage Micrometer for instrument calibration from 1,500X to 1,000,000X (80nm minimum pitch). NIST and NPL traceable for ISO9000 and ISO17025.Average lead time: 29 days
POA
Average lead time: 29 days - Geller reference standard re-callibration serviceGeller MicroAnalytical magnification standards can be cleaned and re-certified to assure continued use as a traceable standard.Average lead time: 20 days
POA
Average lead time: 20 days - 145nm AFM Reference Standard for AFMThe 145nm pitch is accurate to ±1nm.Average lead time: 13 days
POA
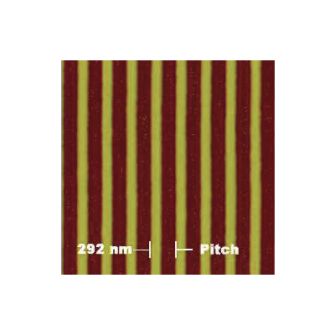
Average lead time: 13 days - 292nm pitch resolution reference standards for AFM292nm pitch reference standard for very high resolution calibration of AFM.Average lead time: 13 days
POA
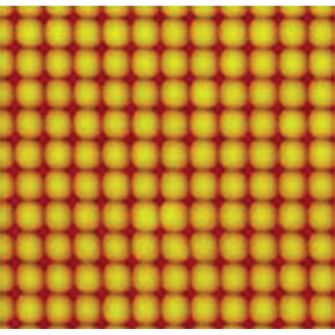
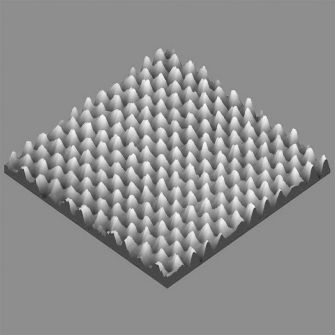
Average lead time: 13 days - 2-D holographic array standards2-D holographic array standards for simultaneous calibration of X and Y axes.Average lead time: 13 to 29 days
POA
Average lead time: 13 to 29 days - Highly Ordered Pyrolytic Graphite (HOPG)HOPG is widely used as a substrate for specimens to be examined in scanning probe microscopy.Average lead time: 13 to 44 days
POA
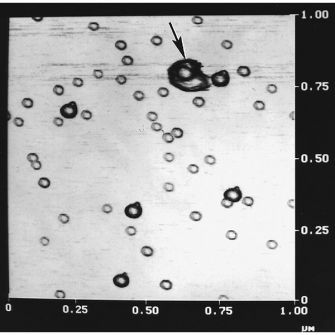
Average lead time: 13 to 44 days - Gold calibration kitGold colloids of known size provide a reliable means of characterising tip geometry and calibrating the Z-axis to piezoelectric response.Average lead time: 13 to 20 days
POA
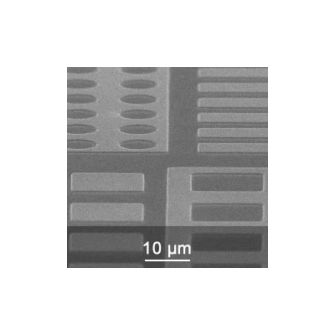
Average lead time: 13 to 20 days - Calibration gratings - TGXYZ seriesCalibration gratings arrays of different structures comprising rectangular silicon dioxide steps on a silicon wafer.Average lead time: 6 to 13 days
POA
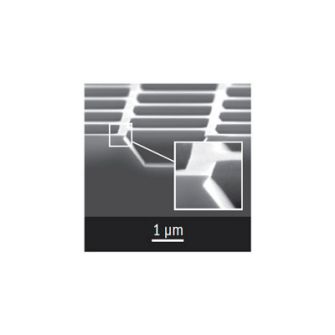
Average lead time: 6 to 13 days - Grating type TGXThe TGX series silicon calibration grating is an array of square holes with sharp undercut edges formed by the (110) crystallographic planes of silicon. The typical radius of the edges is less than 5 nmAverage lead time: 20 days
POA
Average lead time: 20 days - Calibration grating sets TGSSets of calibration gratings and test structures are available to suit different requirements.Average lead time: 20 to 44 days
POA
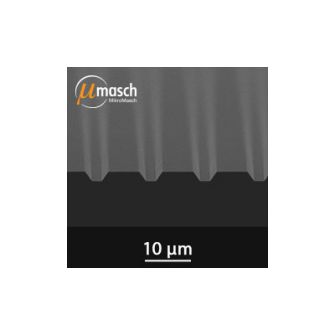
Average lead time: 20 to 44 days - Calibration gratingsThe calibration gratings feature one-dimensional arrays of trapezoidal steps etched into a silicon substrate.Average lead time: 6 to 29 days
POA
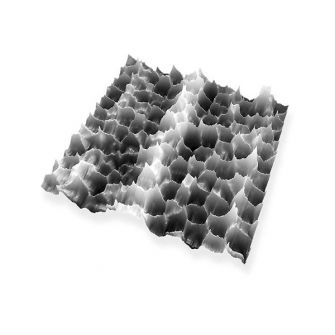
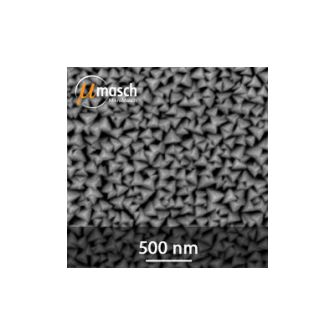
Average lead time: 6 to 29 days - Sample for characterisation of tip shapeSample for characterisation of tip shape with hard sharp pyramidal nanostructures. The structures are covered by a highly wear-resistant layer.Average lead time: 13 to 29 days
POA
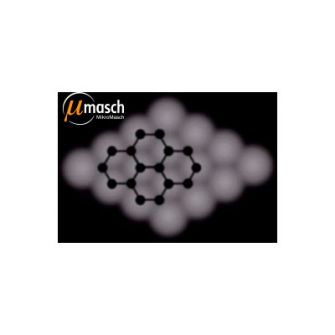
Average lead time: 13 to 29 days - HOPGHighly ordered pyrolytic graphite (HOPG) is a lamellar material and consists of stacked planes.Average lead time: 29 days
POA
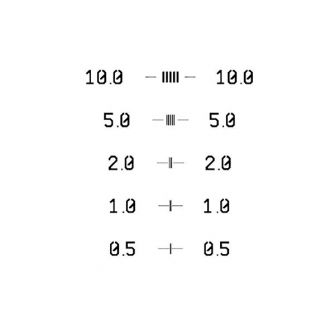
Average lead time: 29 days - Critical dimension (CD) calibration test specimens - 10-5-2-1-0.5um...This CD calibration test specimen comprises five line patterns, each one clearly identified by its pitch.Average lead time: 13 days
POA
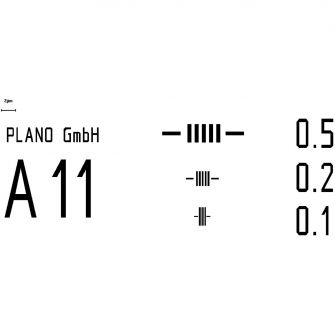
Average lead time: 13 days - Critical dimension (CD) calibration test specimens - 500-200-100 nm...This advanced CD calibration test specimen is suitable for calibrating smaller structures.Average lead time: 13 days
POA
Average lead time: 13 days
Contact your local distributor for quick delivery
ORDER ONLINE - quick & easy
AGENTS & DISTRIBUTORS - available worldwide
REQUEST QUOTES - fast online pricing


